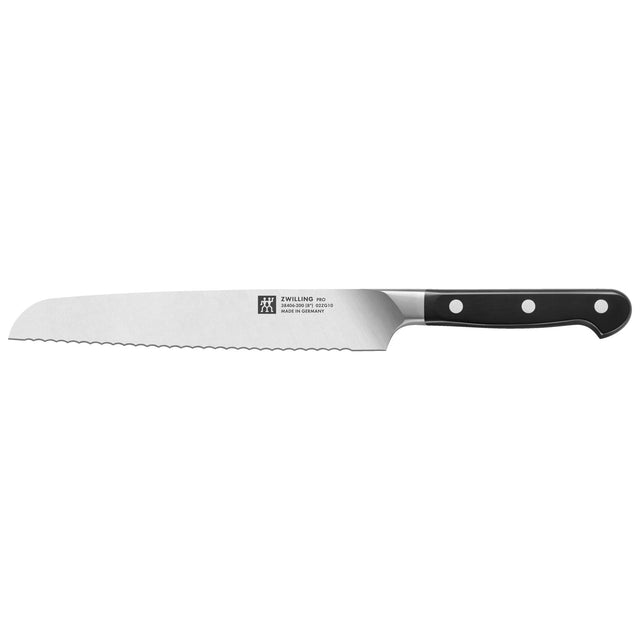
Creating your own sourdough starter is a rewarding process. With just flour, water, and time, you can cultivate wild yeast and bacteria to make delicious, tangy bread. Here’s how to get started with a few essential kitchen tools.
Ingredients:
- 50g whole wheat flour (or all-purpose flour)
- 50g water (filtered or non-chlorinated)
Day 1: Start Your Starter In a clean bowl or jar, combine 50g of flour and 50g of water. Use a digital scale for accurate measurements, which ensures consistency throughout the process. Stir well with a wooden spoon to mix, and cover loosely with a lid or cloth. Leave it in a warm spot (around 70°F/21°C) for 24 hours.
Day 2: Feed the Starter After 24 hours, you may not see much activity yet, but that’s normal! Discard half of the mixture and add another 50g of flour and 50g of water. Stir well using the wooden spoon, then cover again and let it rest for another 24 hours.
Days 3-5: Continue Feeding Repeat the process each day: discard half, then add 50g of flour and 50g of water. By Day 3, you should start to see bubbles forming, indicating that the wild yeast is becoming active. A glass jar is ideal for this process, as you can easily observe the bubbles and the rise of the starter.
Days 6-7: Ready to Bake By Day 6 or 7, your starter should be bubbly, rise in size after each feeding, and have a tangy smell. At this point, it’s ready to use for baking sourdough bread!
Tips for Success:
-
Consistency: Keep feeding your starter daily and monitor its growth using your digital scale for precision.
-
Flour Choices: Start with whole wheat for a boost of nutrients, then switch to all-purpose flour if preferred.
-
Patience: Every starter develops at its own pace. If it takes longer than a week, that’s perfectly normal.
Once your starter is active and bubbly, it’s ready for your first loaf of sourdough! Keep it in the fridge and feed it weekly. Happy baking!

