Serves: 4–6 (adjust quantities to scale)
Prep time: 20–40 minutes (depending on chopping and assembly)
A well-made charcuterie board looks effortless — but it’s the small choices (balance, spacing, and variety) that make it unforgettable. Follow this clear, repeatable process to build boards that taste great, photograph beautifully, and please any crowd.
1. Choose Your Board
-
Size: 12–18" for 4–6 people; larger for parties.
-
Material: Wood (acacia or maple) for warmth and stability; marble for cheeses that benefit from cool surface.
2. Pick 3–5 Meats (Flavor Variety)
Aim for different textures and intensities.
-
Examples: prosciutto (thin, delicate), salami (firm, sliceable), soppressata (spicy), pâté or rillettes (spreadable).
-
Quantity: ~3–4 oz total meat per person. Fold or roll slices for height and texture.
3. Add 3–5 Cheeses (Texture + Milk Variety)
Include a range of textures and milks (cow/goat/sheep).
-
Soft: Brie, Camembert, goat cheese log.
-
Semi-firm: Manchego, Gruyère.
-
Firm/aged: Aged cheddar, Parmesan shards.
-
Quantity: ~2–3 oz cheese per person. Pre-cut some pieces for easy serving.
4. Include Crunch & Carbs
-
Crackers: 2–3 types (thin water crackers, seeded crackers, crostini).
-
Bread: Sliced baguette, toasted rounds.
-
Quantity: 3–5 crackers/slices per person at start.
5. Add Pickles, Preserves & Spreads (Sweet, Sour, Savory)
-
Pickles: cornichons, pickled onions, olives.
-
Spreads: grainy mustard, fig jam, honey, chutney.
-
Place spreads in small bowls to avoid soggy crackers.
6. Fresh & Dried Fruit (Color + Sweetness)
-
Fresh: grapes, apple or pear slices (toss with lemon to prevent browning), berries.
-
Dried: apricots, figs, dates.
-
Use fruit to fill gaps and add color contrast.
7. Nuts & Garnish (Crunch + Visual Interest)
-
Nuts: Marcona almonds, toasted walnuts, pistachios.
-
Garnish: fresh herbs (rosemary sprigs), edible flowers, lemon wedges.
8. Plan Your Layout (Start With Big Items)
-
Place bowls first (spreads, olives) — anchor points.
-
Add cheeses next, spaced evenly. Leave small space for knives.
-
Arrange meats around cheeses — fold, fan, or roll for shape.
-
Fill gaps with crackers, bread, fruit, and nuts. Build little clusters rather than one long line.
-
Finish with a garnish for pops of color.
Design tip: Create visual triangles of repeating colors/textures to guide the eye.
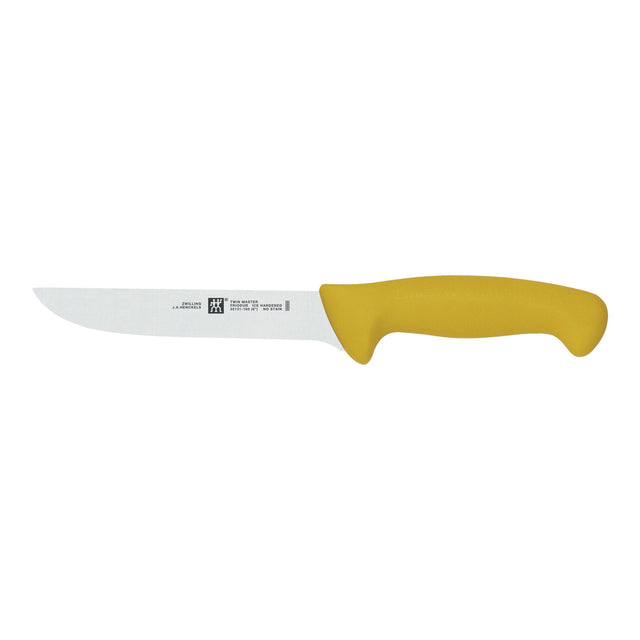
9. Serving Tools & Labelling
-
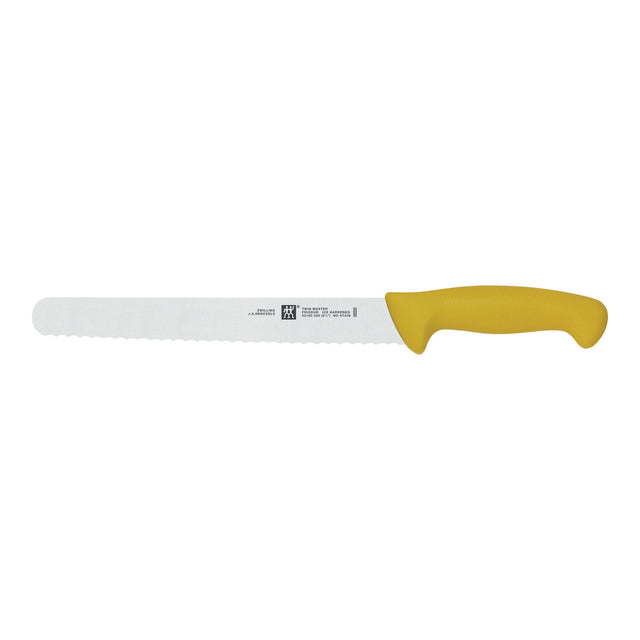
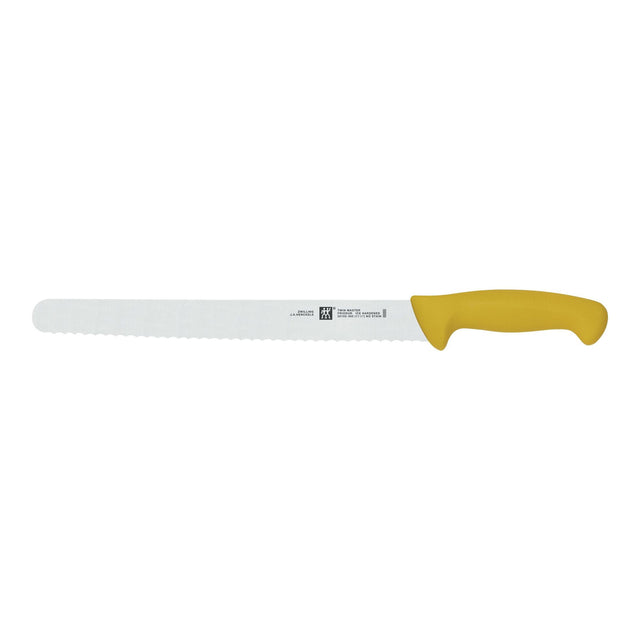
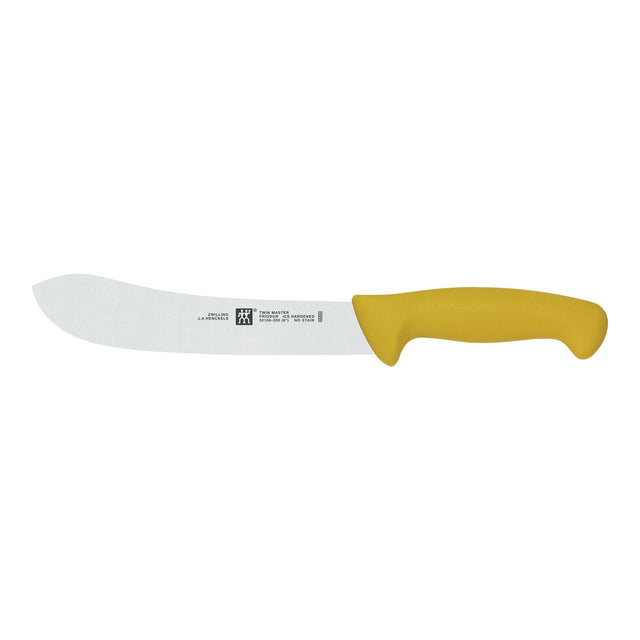
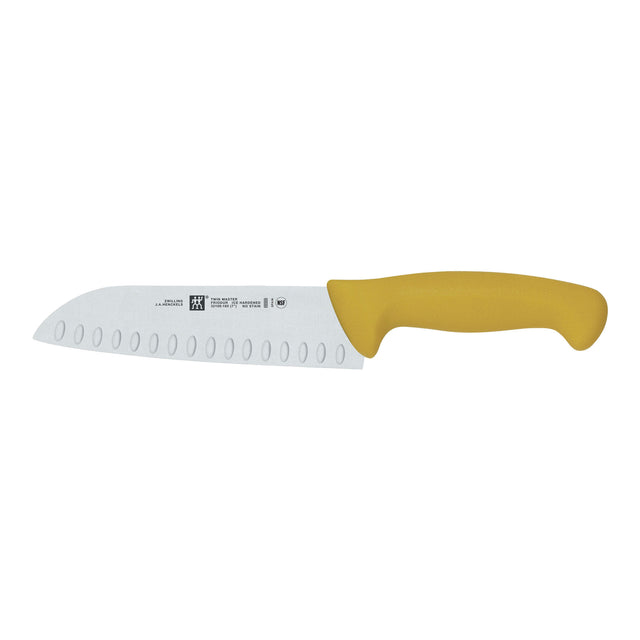
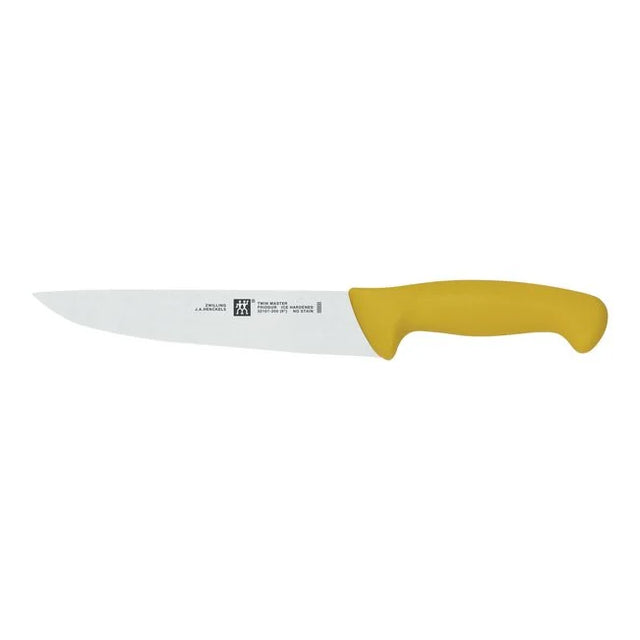
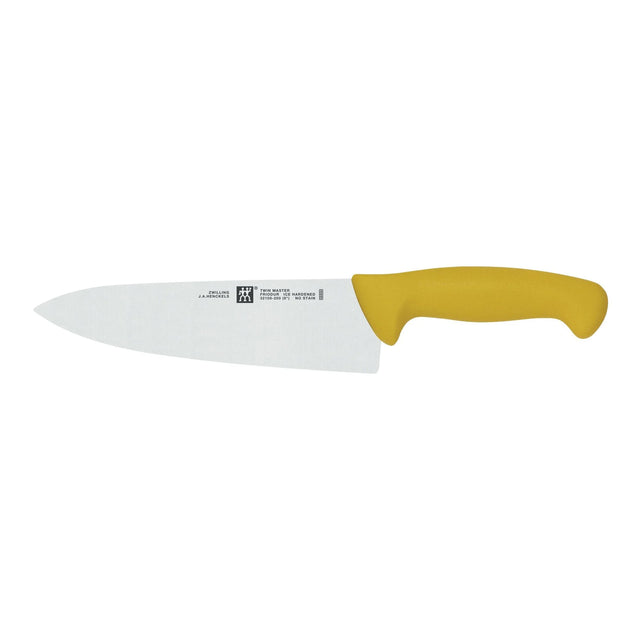
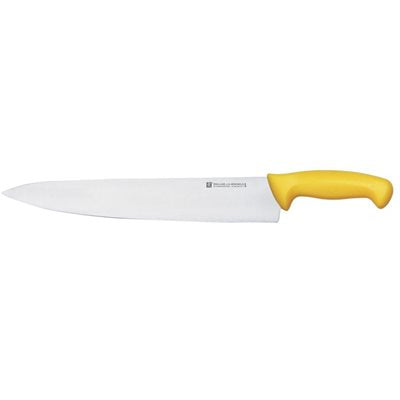
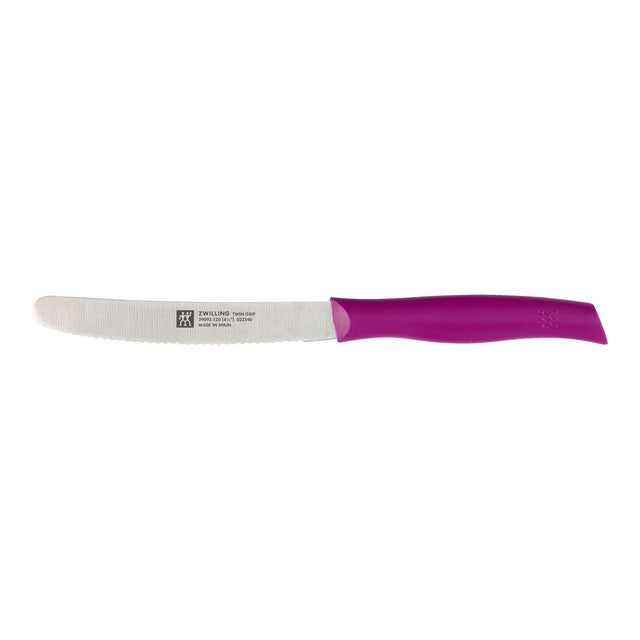
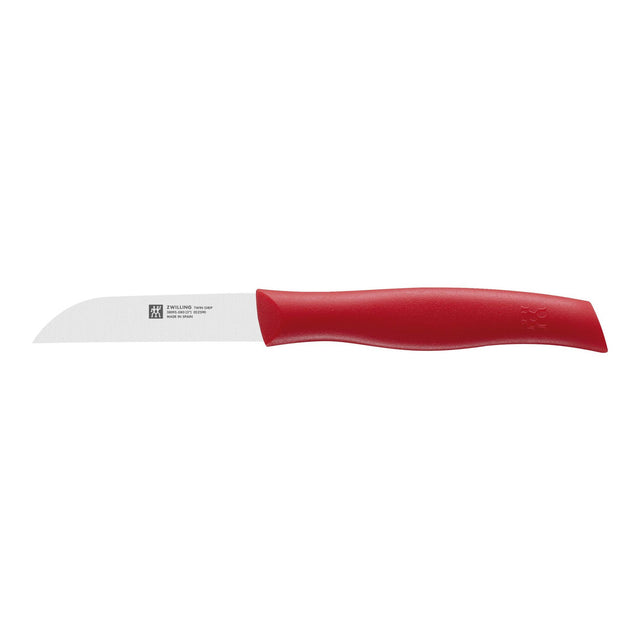
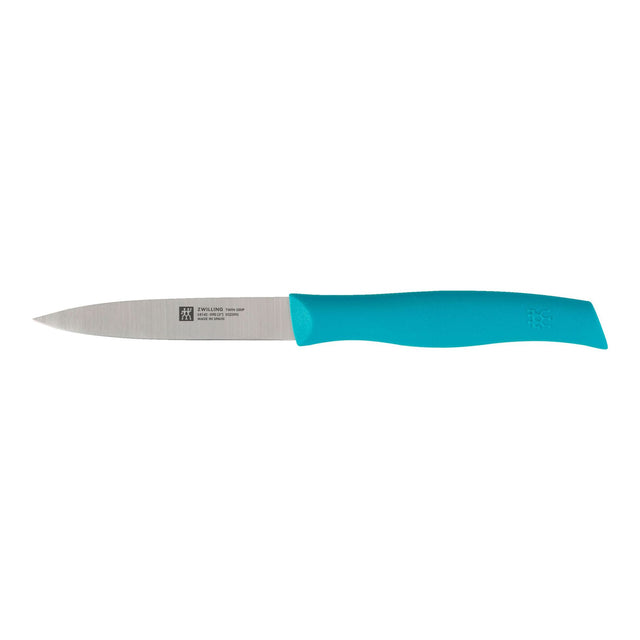
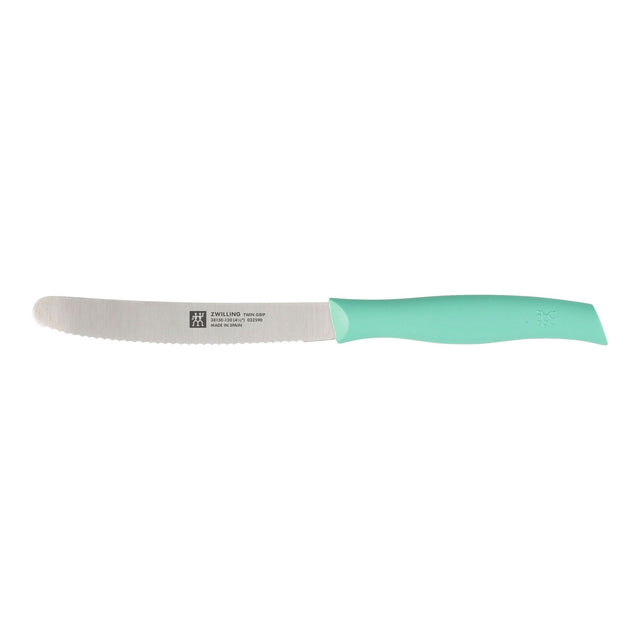
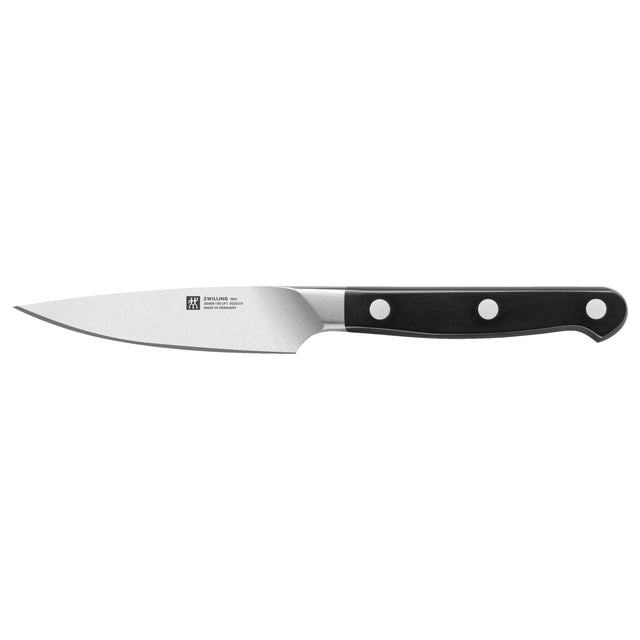
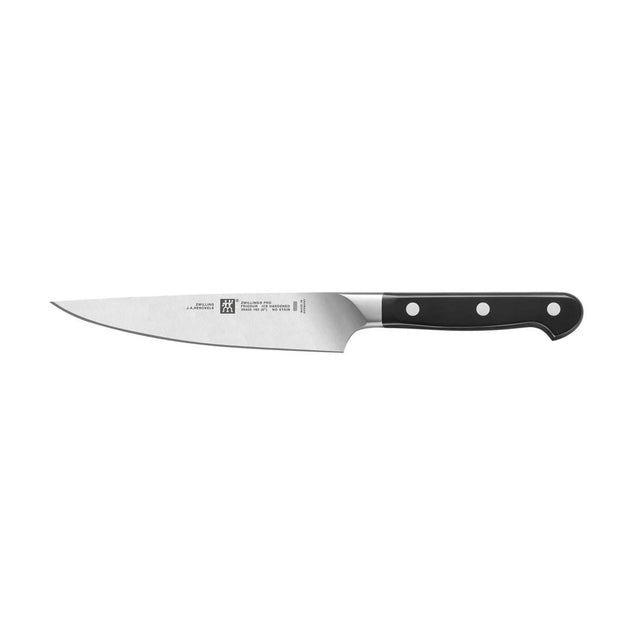
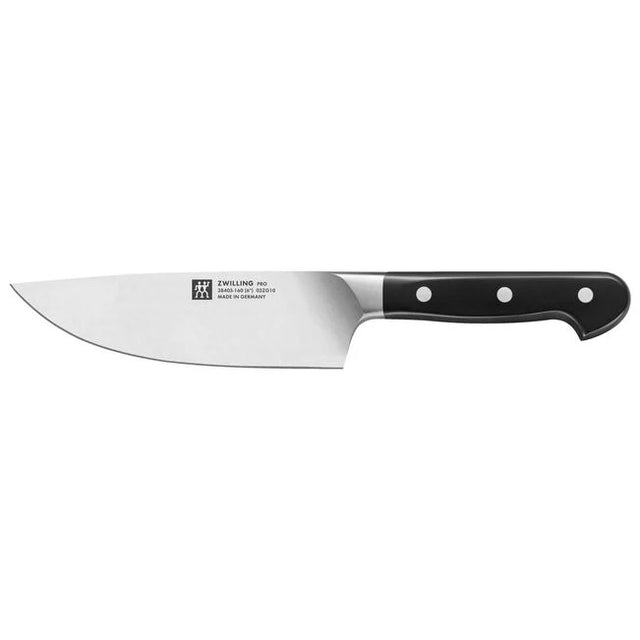
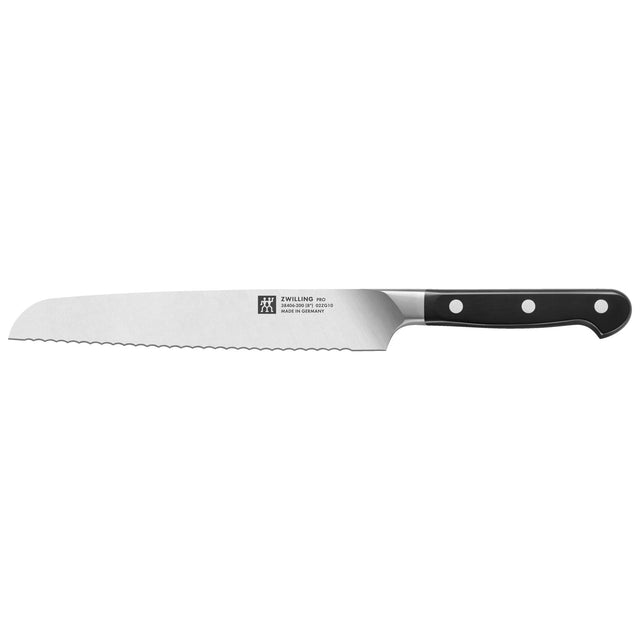
Provide cheese knives for each cheese (soft spreader, semi-hard knife, hard cheese knife).
-
Small tongs or toothpicks for pickles and fruit.
-
Optional: small labels or chalk tags to identify cheeses/meats.
10. Timing & Storage
-
Assemble 20–30 minutes before serving for best freshness.
-
Keep soft cheeses refrigerated until 10–15 minutes before serving.
-
Leftovers: wrap cheeses separately and refrigerate; crackers keep best in an airtight container.
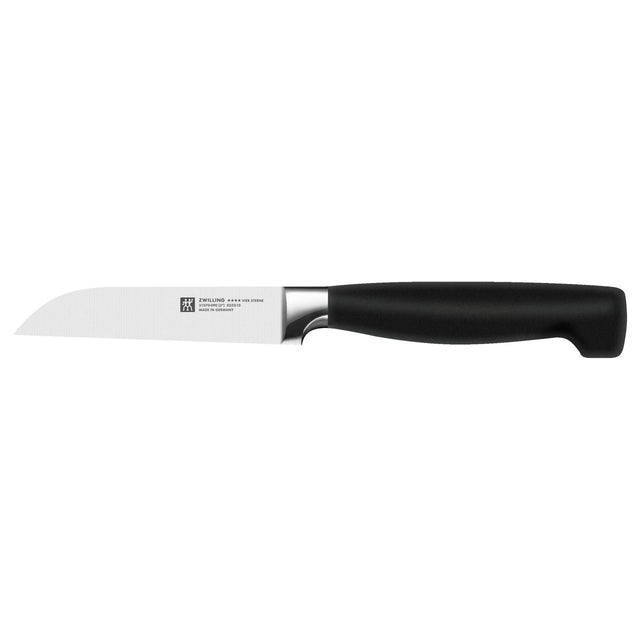
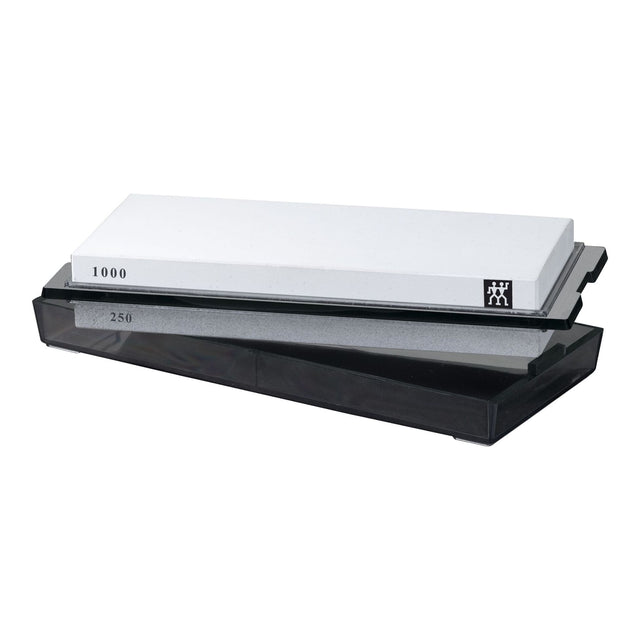
Pro Tip: Serve Like A Pro With The Right Tool
The finishing touch that makes serving effortless? A quality cheese knife set paired with a generous
👉 Consider a 3-piece cheese knife set (soft cheese spreader, semi-hard knife, hard cheese fork) — it’s the simplest upgrade that transforms a good charcuterie into a memorable one.